Hey there, fellow Notion & fashion enthusiasts!
If you're anything like me, how you set up your Notion pages matters to you.
You spend a good amount of time making your Notion setups well-organised and clean-looking.
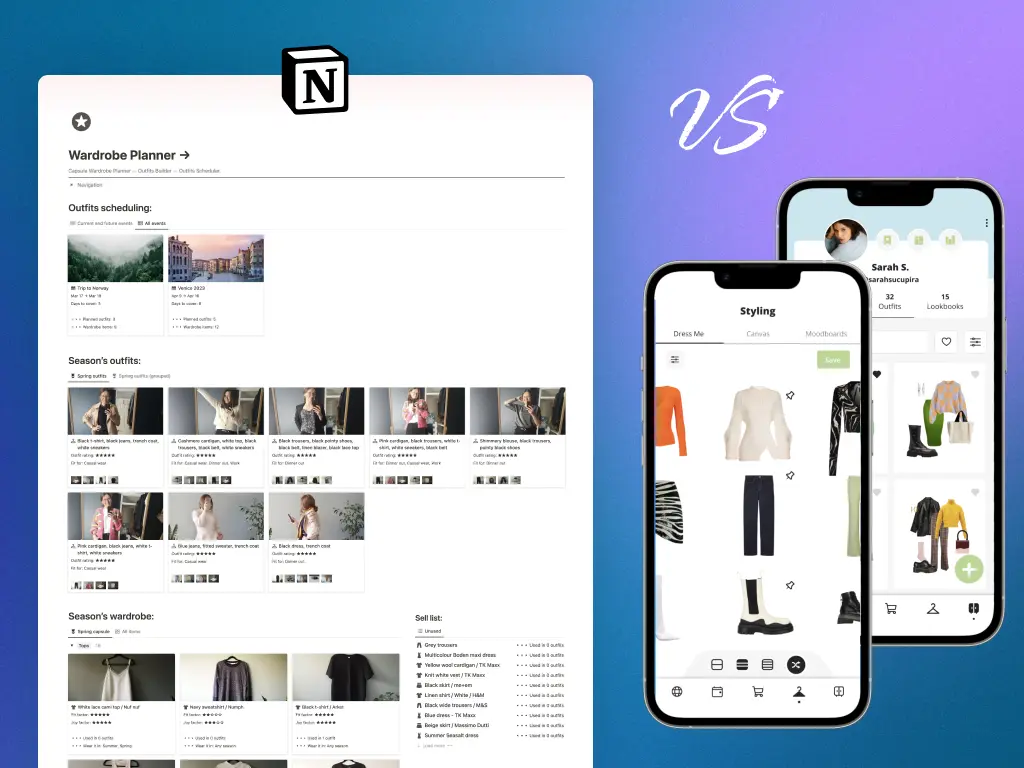
In this post, I want to give you some tips on how to create a clean Ultimate or Starter wardrobe planner setup by capturing beautiful pictures of your clothes.
So grab your phone or camera, and let's dive in!
Set the Stage with a clean canvas
First, let's create a clean and clutter-free background for your clothing photos.
You don't need a fancy studio or backdrop — find a neutral-coloured wall or even hang a clean sheet to serve as your canvas.
Keeping it simple ensures that:
- The pictures you take will bring your clothes into focus
- You will end up having an elegant and clean wardrobe planner setup, which, in return, will allow you to understand better what you can do with your clothes.
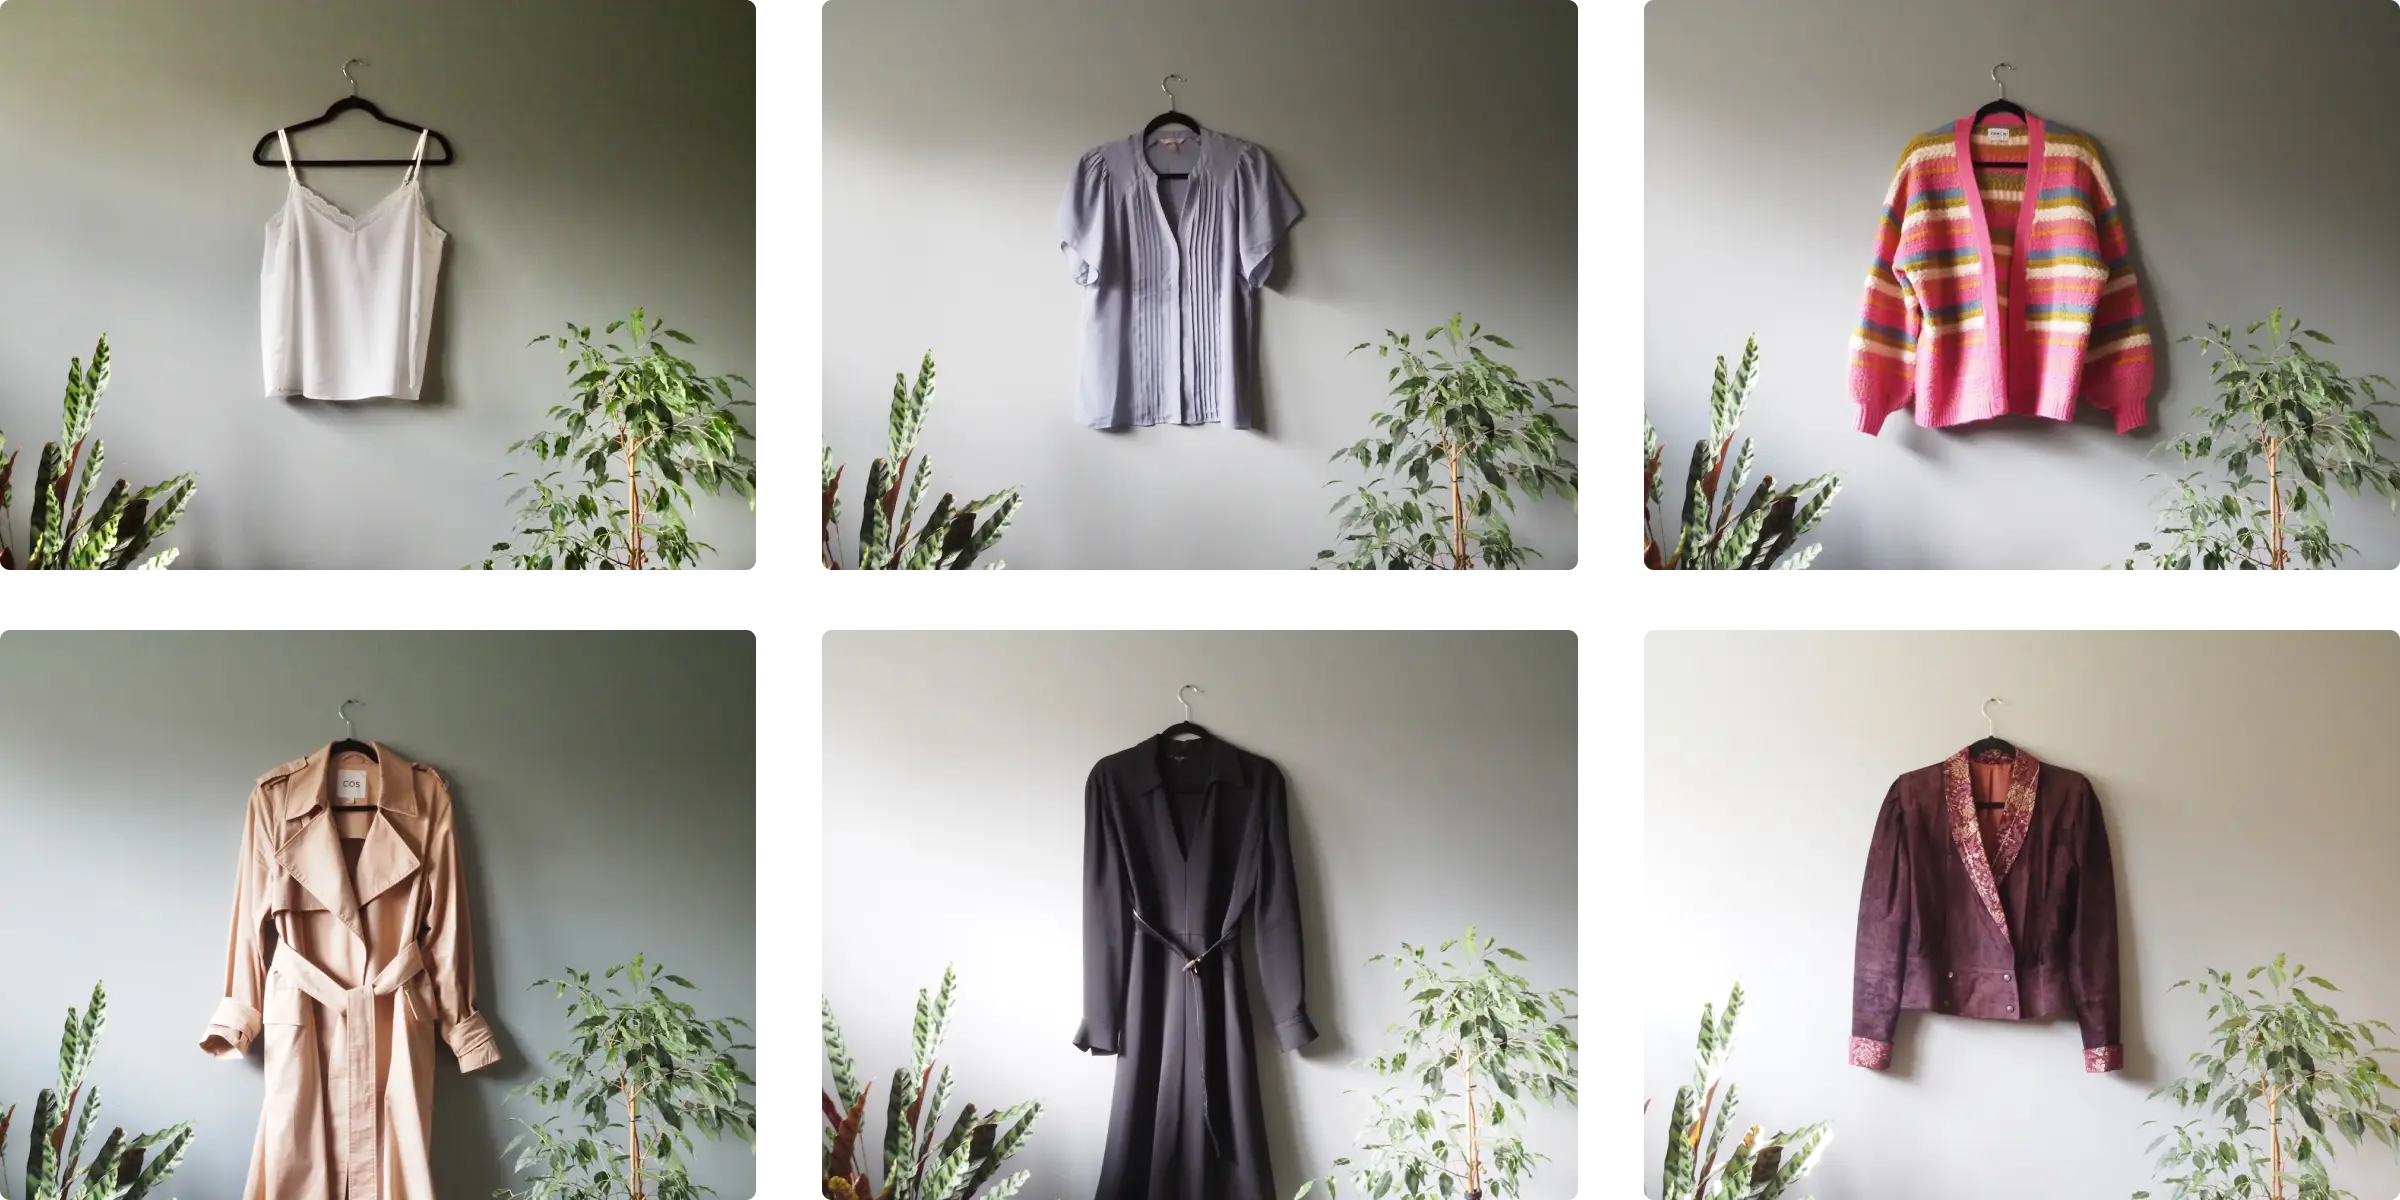
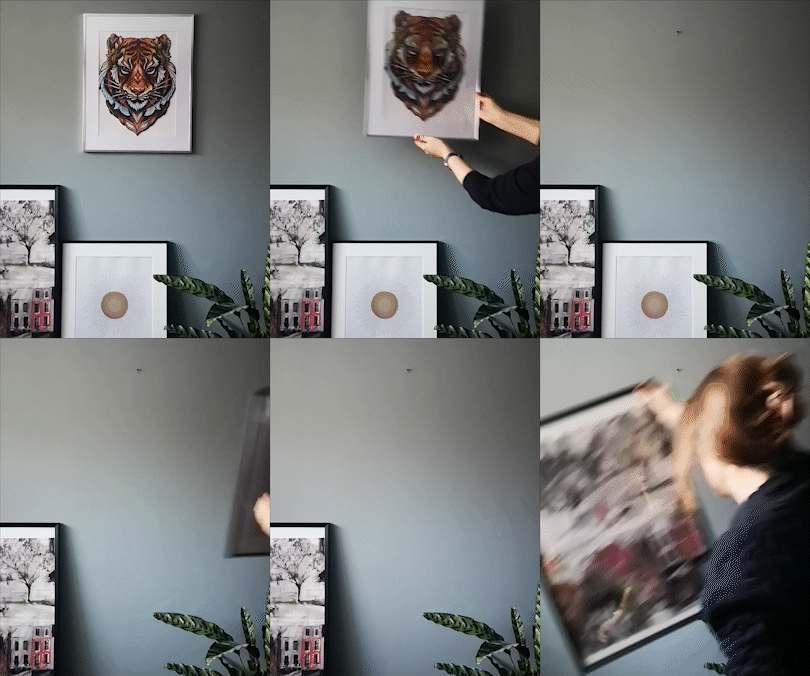
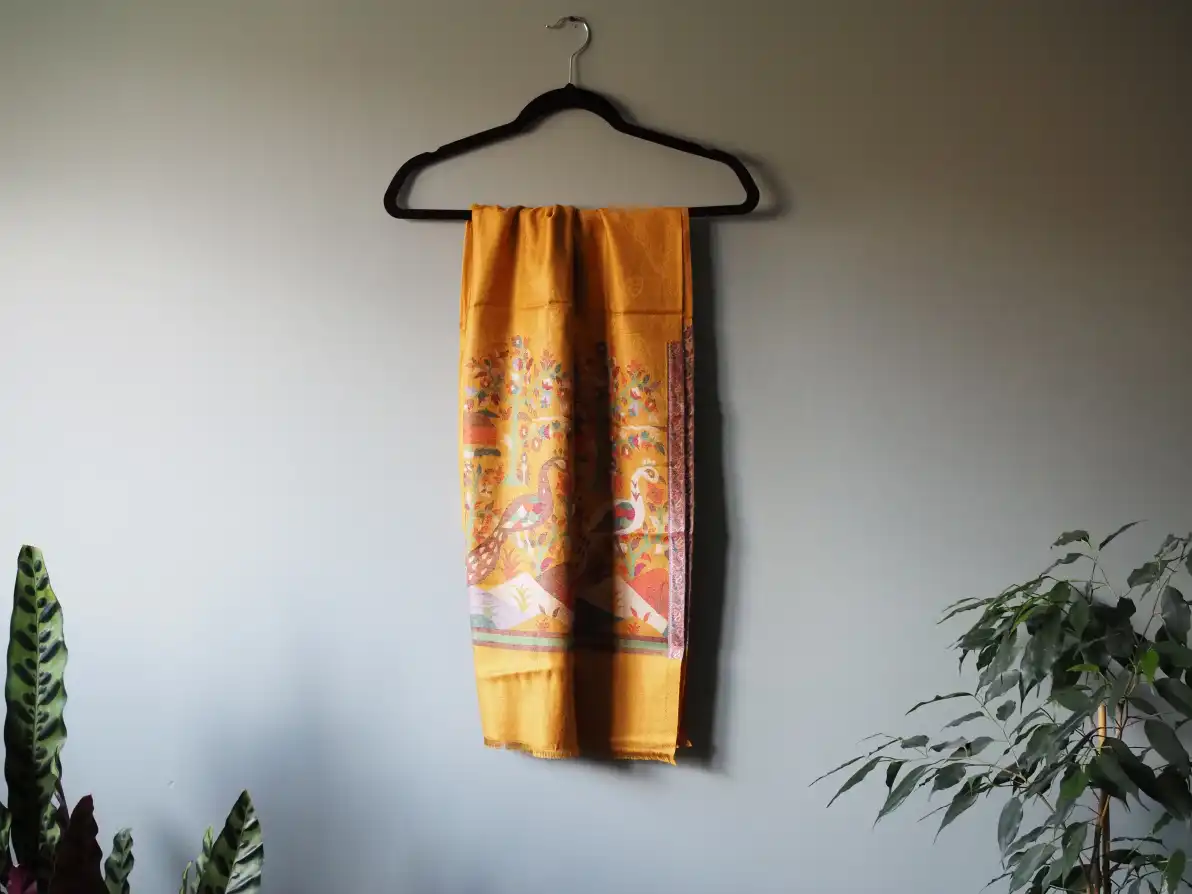
For my own clothes, I found the emptiest wall in my house and used a picture hook to hang my clothes on. I chose this particular wall because it had the most open space compared to other walls in my home.
Let there be the light
In general, lighting can make or break your photos; the pictures you take to upload to your planner are no different.
Make sure your clothes are well-lit, but avoid using your phone's flashlight.
Natural light is your best friend, so try to take pictures of your clothes during the daytime. A spot near a window is a perfect fit, but be mindful of harsh shadows caused by direct sunlight, as they can create visually unappealing photos.
Soft, diffused lighting is ideal, as it highlights the colours and details of your clothes.
Embrace the landscape
When taking clothing photos for the Starter or Ultimate Wardrobe Planner for Notion, turn the phone horizontally to capture a wider frame.
The landscape orientation is a perfect fit for both wardrobe planners' card display views.
Also, if the space in your room allows, step back when you take a picture, as this will create white space around your clothing, ensuring the whole item is visible in Notion's card view. Of course, this will not be possible with longer items like long coats or dresses. However, follow the same rules when photographing all clothes to have consistently looking images.
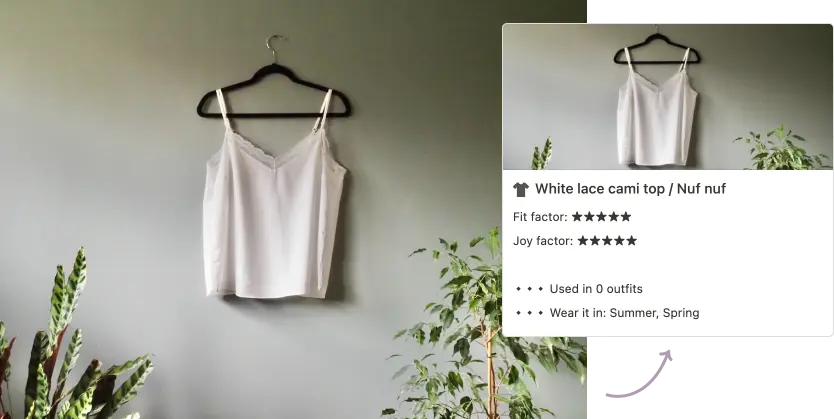
Bonus Tip: Add something interesting to your photos
Remember the saying, "The devil is in the details"? Well, it holds true for clothing photos too!
This step is unnecessary, but if you like the design element in everything, try adding some details to the backdrop of your setup.
By adding something a little extra, you'll give your wardrobe planner an added touch of style and sophistication.
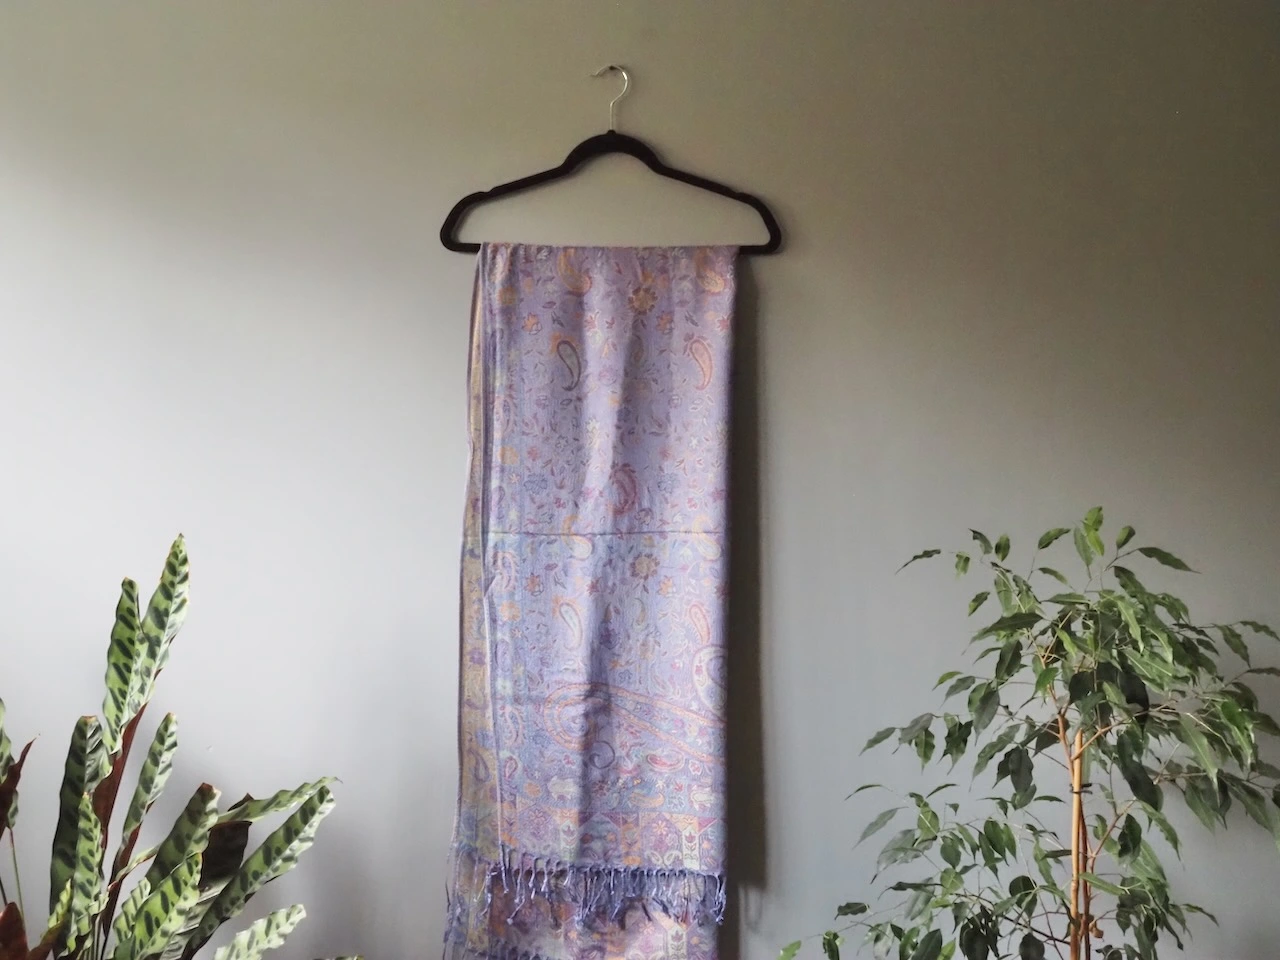
I used house plants to frame my clothes in pictures. This made my planner more visually appealing. It was for me, really. I get inspired by things like that.
What about shoes and accessories?
The same rules apply.
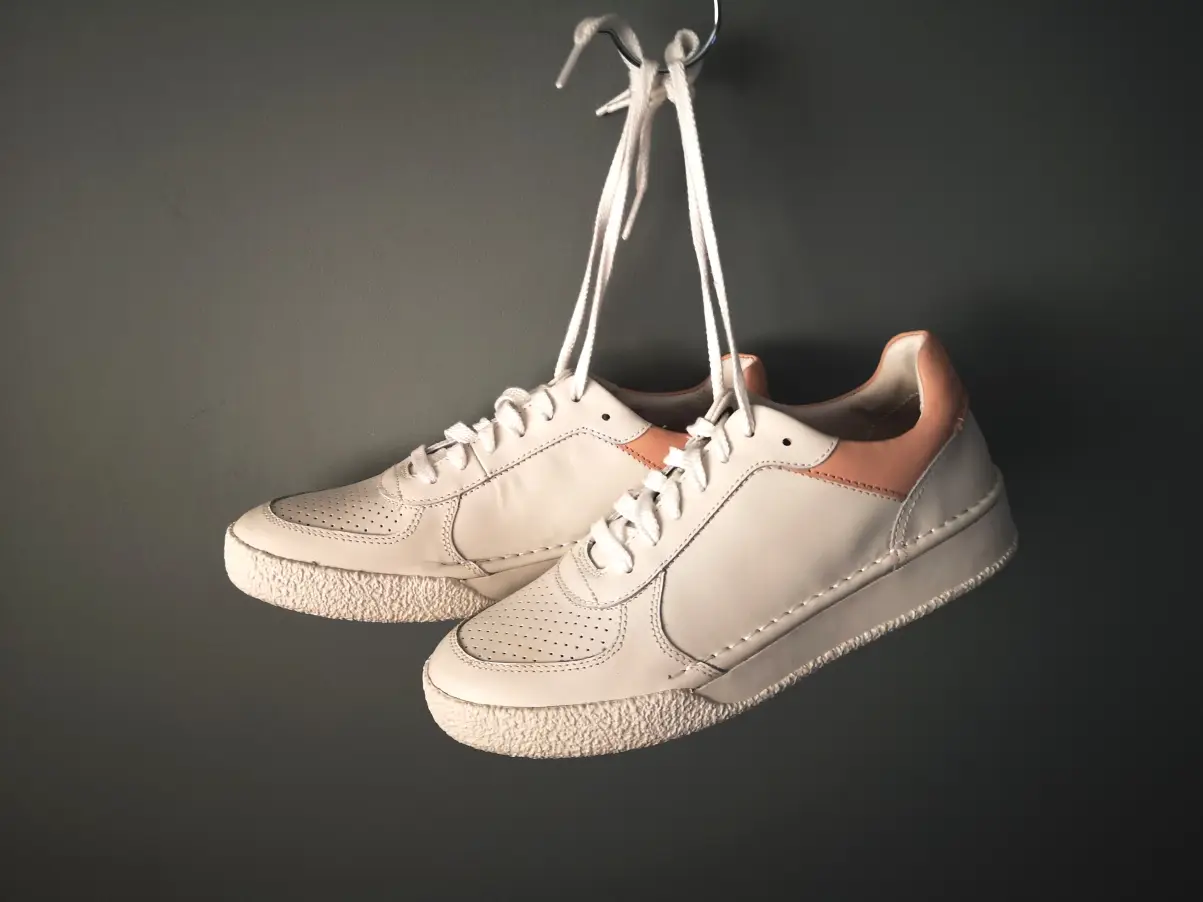
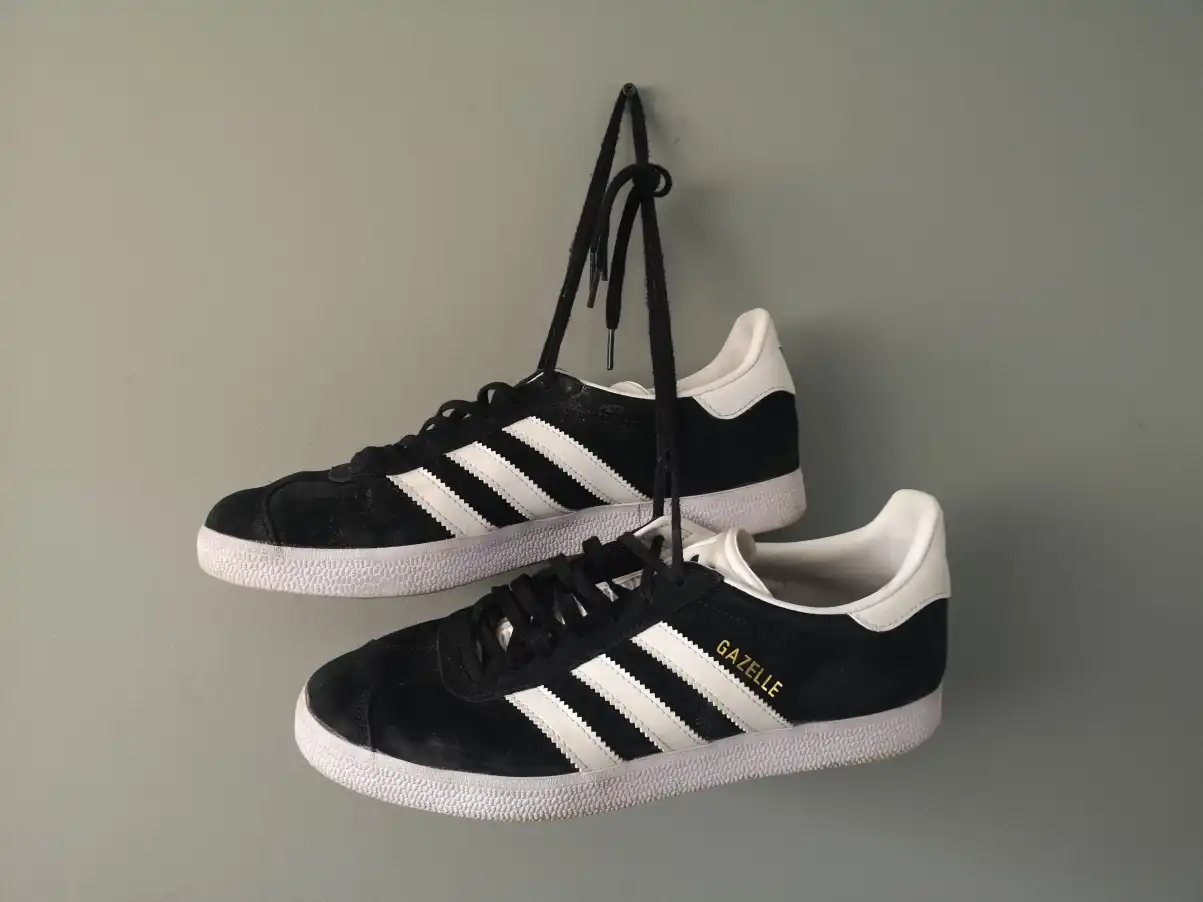
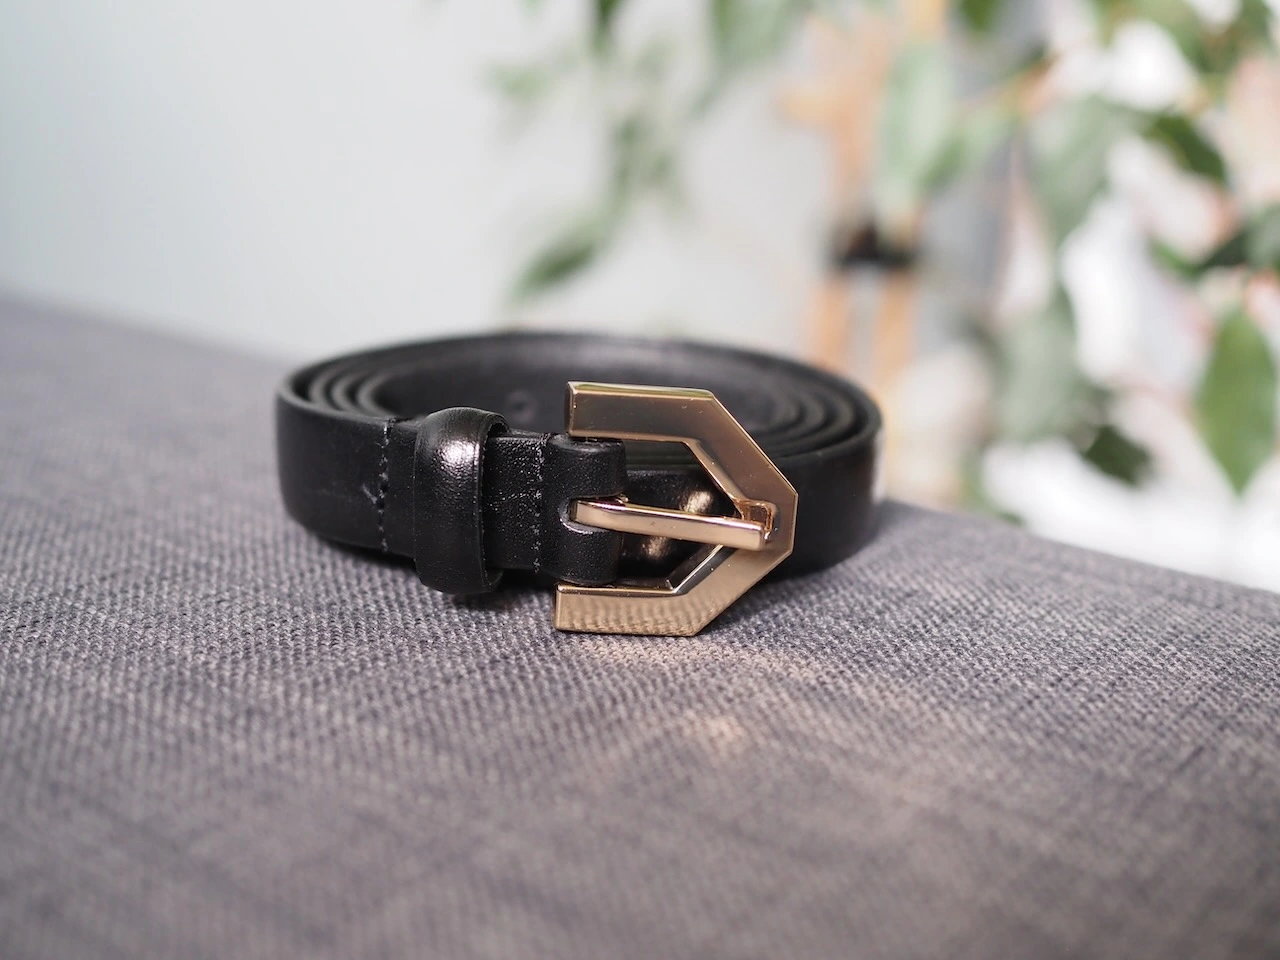
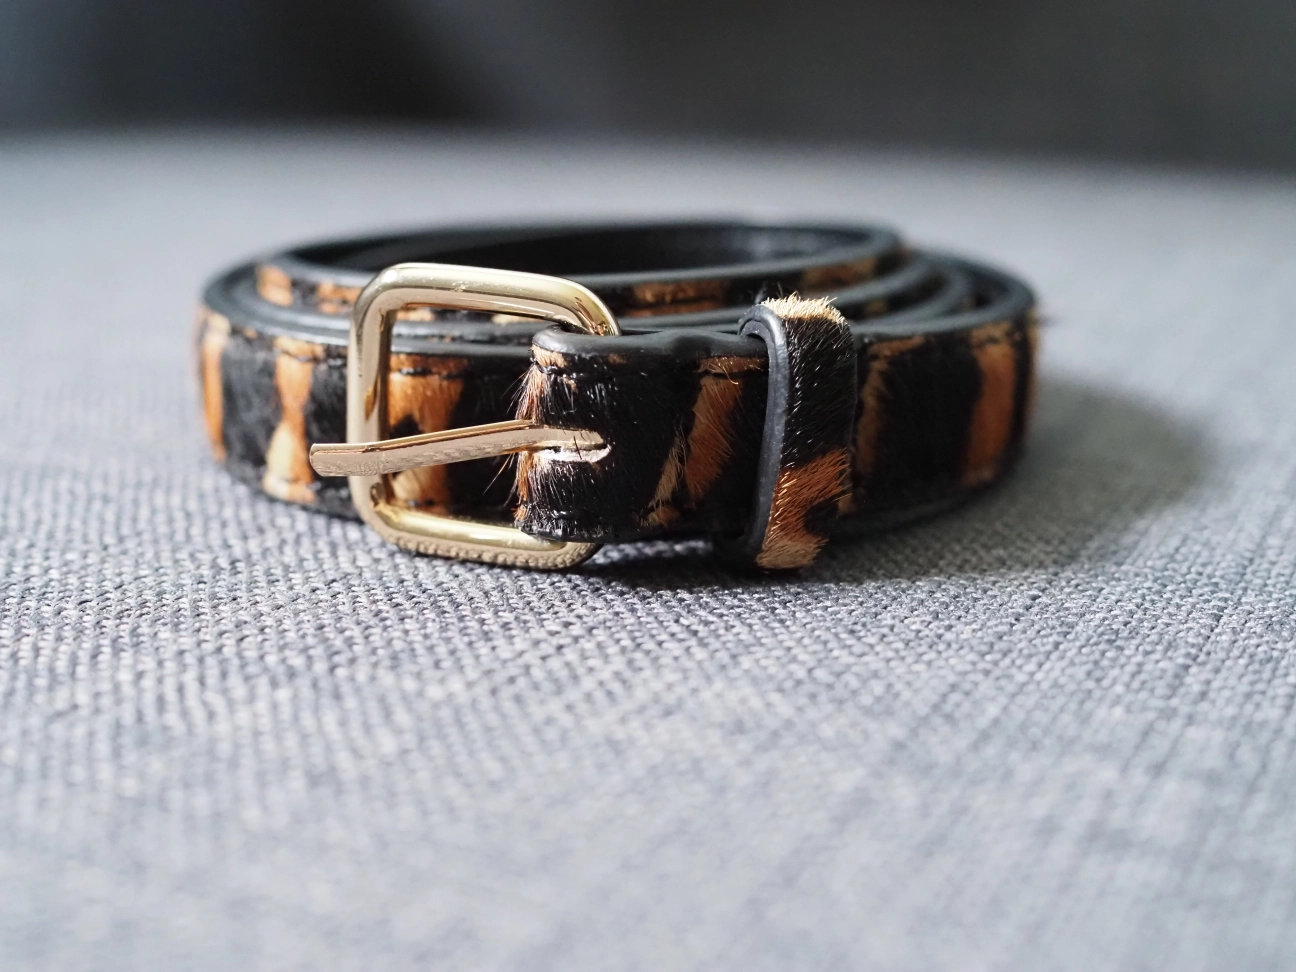
Find a clean background, such as plain flooring, the top of the table or something like that, and make sure it is close to the light source.
Look for the angle that accentuates the thing you are taking a picture of, and you can't go wrong with that.
Here are some examples of the pictures I took for my planner.
Summary
Now that you're armed with these tips, it's time to bring your Wardrobe Planner to life with good photography.
Clean backgrounds, good lighting, creative presentation, and the power of landscape mode on your phone will help you curate a fashion-forward wardrobe planner that inspires you to dress better.
So go ahead, express your style, and remember to have fun along the way!
