If you already own the Ultimate Wardrobe Planner, did you ever think - “Oh, I wish it was easier to add all my clothes to this planner”?
If you did, it makes two of us!
I am still hoping that one day I will be able to create wardrobe items by just uploading all photos from my phone to the Wardrobe database. So far, I am yet to find a good way to trigger this workflow with Notion.
However...
The recent Notion update - automated buttons, makes adding new entries to any Notion database much easier!
So that is what I have added to the Ultimate planner.
Let’s get into it.
New features:
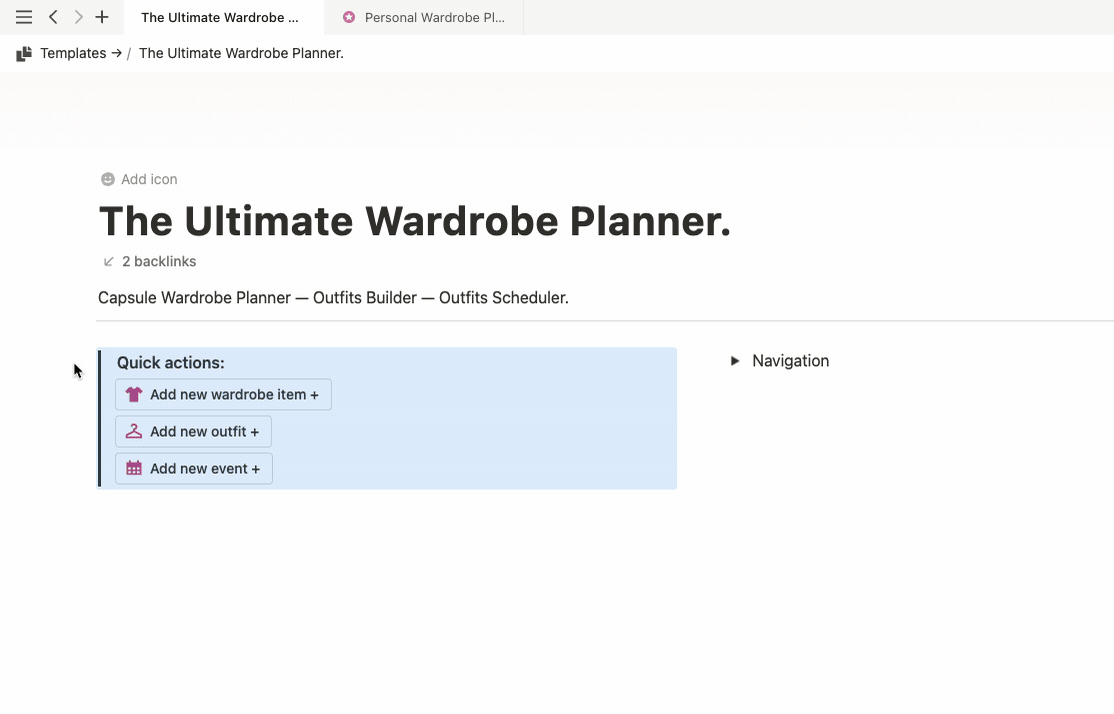
Quick actions buttons
Yes, the Notion automation buttons are now part of the Ultimate Wardrobe Planner for Notion.
Adding new wardrobe items, outfits, and events to the dashboard now is much easier. No more need to navigate to individual databases to create pages; you can do this as soon as you get to the main dashboard. Just click on one of the buttons to perform the required action. This is especially useful if you use Notion on your phone a lot.
How to add the buttons to your planner:
If you already own the Ultimate template, here is how to add the Quick Action buttons to your setup:
- Navigate to the original template (link in a pdf you received if you purchased the planner via Lemon Squeezy or order email if your purchase was made via Gumroad)
- Copy the quote block containing the buttons, and paste it into your own dashboard.
- Drag the quote block to the left of the navigation to create two columns. This will place the buttons at the top of the dashboard on mobiles.
- Click on the settings icon of each button and select the correct database.
- Test if the buttons work as expected. On click, each button should create a new entry in the relevant database.
Other updates:
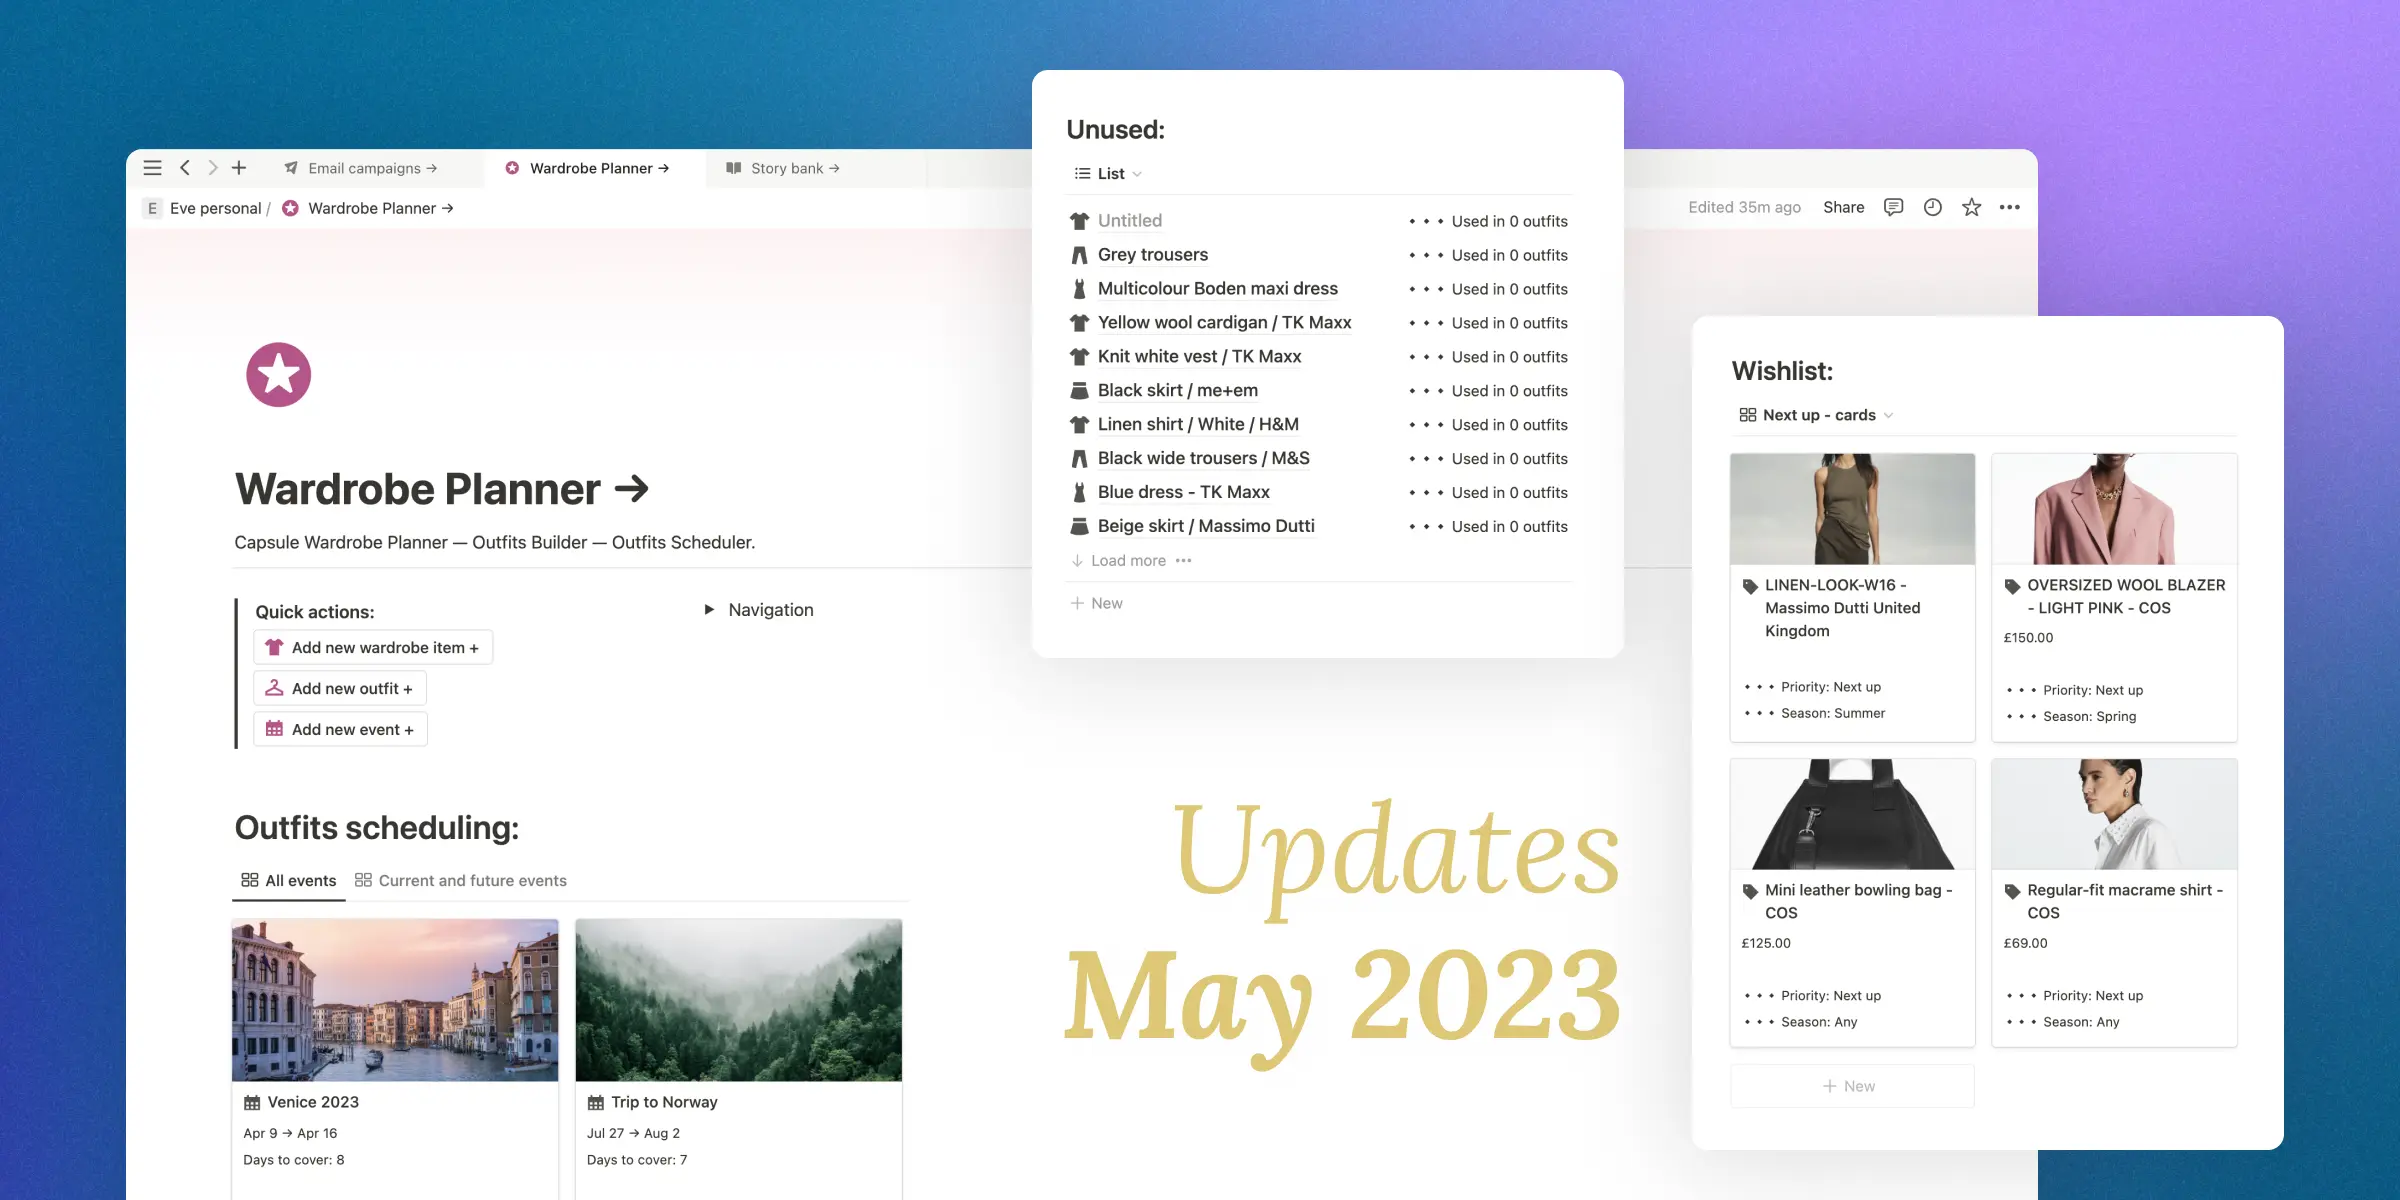
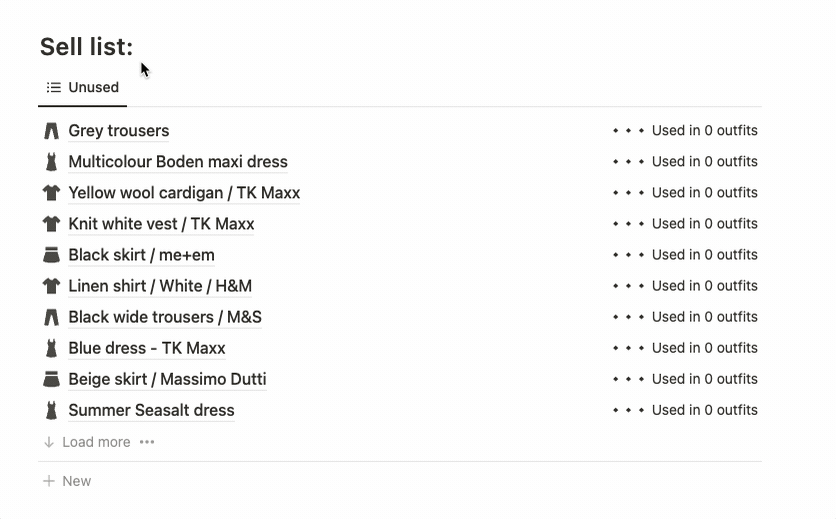
Sell-list is now called “Unused”:
If you ever were confused about the “Sell list”, you will like this tiny change.
I have renamed the “Sell list” on the main dashboard to “Unused”. Because - that’s what it is 🤷🏻♀️.
Also, I have changed the load limit for the unused items on the main dashboard to 10. Previously, it was 50.
How to add this change to your planner:
On the dashboard, rename the “Sell list” to “Unused”, the database view to “List”, and change the database load-limit setting to 10.
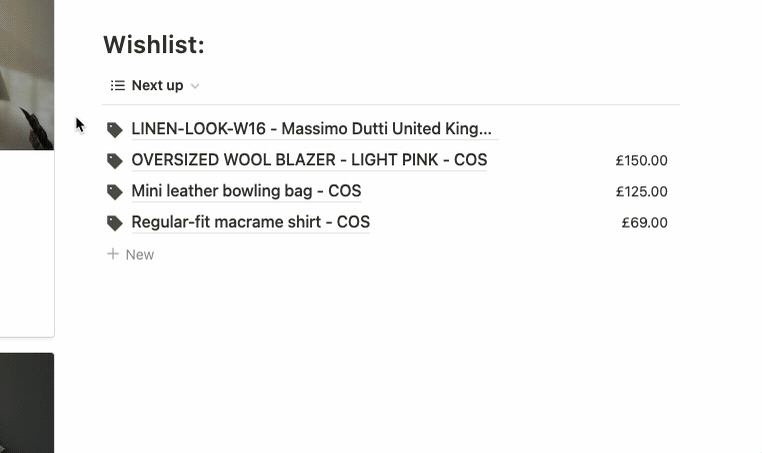
Wishlist:
I’ve updated the wishlist on the main dashboard to now display cards by default, not a list of items as previously. It just looks better, and you can quickly see what you want to buy in the future without first toggling the view.
How to add this change to your planner:
On the dashboard, drag the wishlist’s card view above the list view. Now, the default view will always be the cards.
That is all for this update!
If you don’t own the Ultimate Wardrobe Planner yet - join the lovely people who are already revolutionising their wardrobes! 🎉